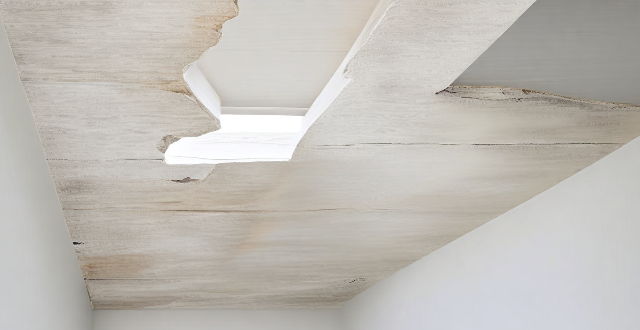
Patching a small hole in the ceiling is a straightforward DIY project that requires basic tools and materials. To begin, clean the area around the hole with a damp cloth to ensure proper adhesion of the spackling compound. Apply a small amount of spackling compound to the hole using a putty knife or spatula, spreading it evenly over the hole and slightly beyond its edges. Allow the compound to dry completely according to the manufacturer's instructions, then sand the area until it is level with the surrounding ceiling surface. Apply a coat of primer paint to the patched area, followed by a coat of ceiling paint that matches your existing ceiling color. Work in a well-ventilated area, use a ladder or step stool for safety, and consider hiring a professional if you are unsure about your ability to repair the hole.

Patch a Small Hole in the Ceiling
Tools and Materials Needed
- Spackling compound or ceiling repair compound
- Putty knife or spatula
- Sandpaper (120-grit)
- Primer paint
- Paintbrush
- Paint (ceiling color)
Steps to Patch a Small Hole in the Ceiling
Step 1: Clean the Area Around the Hole
Clean the area around the hole with a damp cloth to remove any dirt or debris. This will ensure that the spackling compound adheres properly to the surface.
Step 2: Apply Spackling Compound
Using a putty knife or spatula, apply a small amount of spackling compound to the hole. Spread it evenly over the hole and slightly beyond its edges. Be careful not to apply too much, as this can cause the compound to sag or drip.
Step 3: Allow the Compound to Dry
Allow the spackling compound to dry completely according to the manufacturer's instructions. This usually takes several hours, but it may vary depending on the thickness of the application and the humidity levels in your home.
Step 4: Sand the Area
Once the spackling compound is dry, use sandpaper (120-grit) to smooth out any bumps or unevenness. Gently sand the area until it is level with the surrounding ceiling surface. Wipe away any dust with a clean cloth.
Step 5: Apply Primer Paint
Apply a coat of primer paint to the patched area using a paintbrush. This will help the ceiling paint adhere better and provide a more seamless finish. Allow the primer to dry completely before moving on to the next step.
Step 6: Paint the Patched Area
Finally, apply a coat of ceiling paint to the patched area using a paintbrush. Choose a paint color that matches your existing ceiling for a seamless repair. Allow the paint to dry completely before touching up any remaining areas or applying additional coats if needed.
Tips for Successful Ceiling Repair
- Work in a well-ventilated area to avoid breathing in dust or fumes from the spackling compound or paint.
- Use a ladder or step stool to reach high ceilings safely.
- If you are unsure about your ability to repair the hole, consider hiring a professional contractor or handyman for assistance.