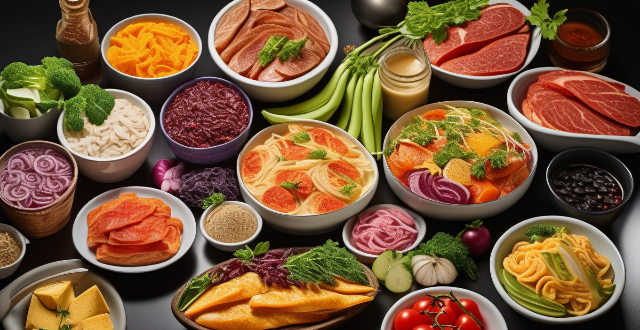
Professional food photographers follow a comprehensive editing process to ensure their images are visually appealing and accurately represent the dish. The process includes initial assessment, basic adjustments, detail enhancement, composition tweaks, special effects if desired, final touches, exporting with attention to file format, resolution, and color profile, and finally, backup and organization for easy retrieval later.

How Do Professional Food Photographers Edit Their Images?
Professional food photographers employ a variety of techniques and tools to edit their images, ensuring that the final product is visually appealing and accurately represents the dish. Here's a detailed breakdown of their editing process:
1. Initial Assessment
- Analyze the RAW File: The first step involves opening the RAW file in an editing software like Adobe Lightroom or Capture One. They assess the exposure, white balance, and overall composition.
- Identify Key Elements: They determine which aspects of the image are crucial, such as the texture of the food, the colors, or the lighting.
2. Basic Adjustments
- Exposure and Contrast: Adjusting the exposure to ensure the image isn't too dark or too bright. Contrast is also tweaked to add depth.
- White Balance: Modifying the white balance to achieve accurate colors or to create a specific mood.
- Color Correction: Enhancing or altering the colors to make them more vibrant or to match a particular style or brand aesthetic.
3. Detail Enhancement
- Sharpening: Increasing the sharpness of the image, especially on key elements like the texture of the food.
- Noise Reduction: If the image was shot at a high ISO, reducing any digital noise.
- Clarity and Texture: Adding clarity to enhance details and texture to give the food a more realistic feel.
4. Composition Tweaks
- Cropping: Sometimes, cropping is necessary to improve the composition or to focus on a particular part of the dish.
- Alignment: Ensuring that any text or graphics added are aligned properly within the frame.
5. Special Effects (If Desired)
- Vignette: Adding a subtle vignette can draw attention to the center of the image, which is usually where the main subject lies.
- Grain: Sometimes, adding a bit of grain can give the image a more vintage or film-like appearance.
6. Final Touches
- Saturation and Luminosity: Adjusting these can help make certain colors pop or tone down overly bright areas.
- Local Adjustments: Using brushes or gradients to make targeted adjustments to specific areas without affecting the entire image.
- Lens Corrections: Fixing any distortions or vignetting caused by the lens.
7. Exporting
- File Format: Choosing the appropriate file format, usually TIFF or JPEG, based on the intended use of the image.
- Resolution: Ensuring the image is exported at a high enough resolution for its intended platform, whether that's print or web.
- Color Profile: Embedding a color profile to maintain color consistency across different devices and platforms.
8. Backup and Organization
- Archiving: Storing a copy of the RAW file and edited version in a safe location.
- Naming Convention: Following a consistent naming convention for easy retrieval and identification later.
By following this comprehensive editing process, professional food photographers ensure that their images not only look appetizing but also convey the right message and emotions associated with the food they capture.