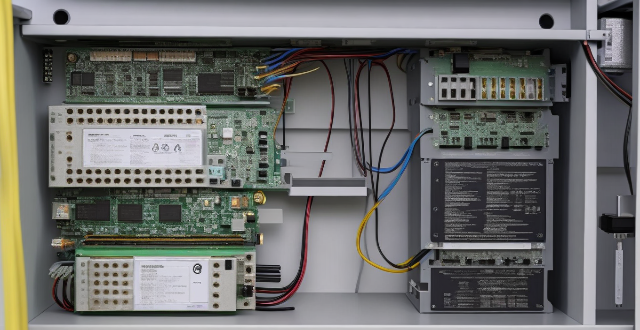
Connecting an AC stepping motor to a microcontroller or driver board involves selecting the right board, connecting the power supply, attaching the motor, programming the board, testing the connection, and troubleshooting any issues. Materials needed include the motor, board, power supply, wires, and optionally a breadboard for temporary connections. Tips include double-checking connections and code, using a breadboard before soldering, and following safety guidelines when working with high voltages.

Connecting an AC Stepping Motor to a Microcontroller or Driver Board
Connecting an AC stepping motor to a microcontroller or driver board involves several steps. Here's a detailed guide on how to do it:
Materials Needed:
- AC Stepping Motor
- Microcontroller or Driver Board
- Power Supply
- Wires
- Breadboard (optional)
Steps:
Step 1: Choose the Right Microcontroller or Driver Board
The first step is to choose the right microcontroller or driver board that can handle the voltage and current requirements of your AC stepping motor. Some popular options include Arduino, Raspberry Pi, and STM32 boards.
Step 2: Connect the Power Supply
Connect the power supply to the microcontroller or driver board. Make sure to match the voltage and current specifications of your AC stepping motor.
Step 3: Connect the Stepping Motor
Connect the AC stepping motor to the microcontroller or driver board using wires. The connections will vary depending on the type of motor and the board you are using. Typically, you will connect the motor's coils to the output pins of the board.
Step 4: Program the Microcontroller or Driver Board
Program the microcontroller or driver board to control the stepping motor. This involves writing code to send electrical pulses to the motor's coils in the correct sequence and timing. You can use libraries or write your own code for this purpose.
Step 5: Test the Connection
Test the connection by running your program and observing the motor's movement. Make sure it is moving in the desired direction and at the correct speed.
Step 6: Troubleshoot Any Issues
If you encounter any issues during testing, troubleshoot them by checking your connections, code, and power supply. Common issues may include incorrect wiring, insufficient power supply, or software errors.
Tips:
- Use a breadboard to make temporary connections before soldering everything together.
- Always double-check your connections and code before powering up the system.
- Be cautious when working with high voltages and follow safety guidelines.
By following these steps, you should be able to successfully connect an AC stepping motor to a microcontroller or driver board.