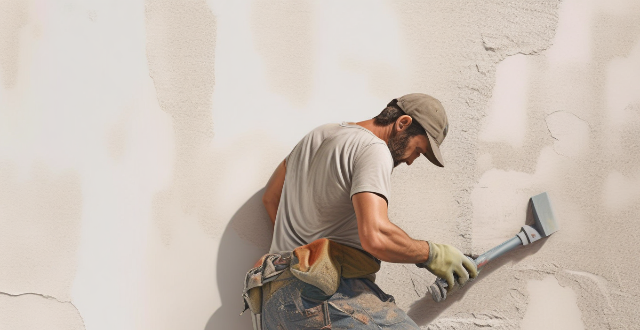
Repairing a hole in the wall can be done without professional help with the right tools and techniques. This step-by-step guide includes materials needed, cleaning and prepping the area, applying spackling paste, sanding the area, applying primer, painting the area, removing tape and cleaning up. Following these simple steps will result in a successfully repaired hole in the wall.

How to Repair a Hole in the Wall Without Professional Help
Repairing a hole in the wall may seem daunting, but with the right tools and techniques, it can be done without professional help. Here's a step-by-step guide to help you fix the damage:
Materials Needed:
- Spackling paste or putty knife
- Sandpaper (fine grit)
- Primer paint
- Paintbrush
- Paint (matching the wall color)
- Painters tape
- Drop cloth or old newspapers
Step 1: Clean and Prep the Area
Before starting any repair work, make sure the area around the hole is clean and dry. Use a damp cloth to wipe away any dust or debris. If there are loose pieces of wall material around the hole, gently remove them with a putty knife.
Step 2: Apply Spackling Paste
Using a putty knife, apply spackling paste over the hole. Make sure to fill the hole completely and smooth out the surface with the putty knife. Allow the spackling paste to dry according to the manufacturer's instructions.
Step 3: Sand the Area
Once the spackling paste has dried, use fine-grit sandpaper to smooth out the surface. Gently sand around the edges of the hole until it blends seamlessly with the surrounding wall. Wipe away any dust with a damp cloth.
Step 4: Apply Primer
Apply a coat of primer paint to the repaired area using a paintbrush. This will help the paint adhere better and prevent any bleeding through of previous colors. Allow the primer to dry completely.
Step 5: Paint the Area
Using painters tape, mask off the area around the repaired section. Place drop cloths or old newspapers beneath the wall to protect the floor from drips. Apply two coats of paint matching the wall color, allowing each coat to dry thoroughly before applying the next.
Step 6: Remove Tape and Clean Up
Once the final coat of paint has dried, carefully remove the painters tape. Clean up any spills or drips with a damp cloth. Dispose of any materials used in the repair process properly.
That's it! With these simple steps, you can successfully repair a hole in the wall without professional help. Just remember to take your time, follow each step carefully, and enjoy your handiwork!