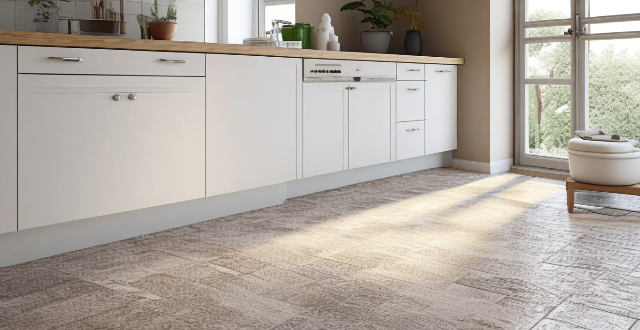
Cracked tiles in bathrooms and kitchens can be repaired by following a step-by-step process. The process involves gathering necessary tools and materials, preparing the area, removing the damaged tile, cleaning the area, preparing the new tile, applying adhesive, grouting, cleaning and curing, and final touches. Wearing safety gear and using appropriate tools and materials are essential for a successful repair. Extensive damage may require professional assistance.

How to Repair a Cracked Tile in Your Bathroom or Kitchen
Introduction
Cracks in tiles can be unsightly and potentially hazardous, especially in high-moisture areas like bathrooms and kitchens. This guide will walk you through the process of repairing a cracked tile step by step.
Tools and Materials Needed
Before you begin, gather the following tools and materials:
- Safety Gear: Safety glasses, gloves
- Tools: Grinder or multi-tool, chisel, hammer, putty knife, measuring tape, pencil
- Materials: Epoxy or tile adhesive, matching tile pieces, grout, sandpaper, cleaning supplies
Step-by-Step Guide
1. Preparation
First, ensure your safety by wearing safety glasses and gloves. Clear the area around the cracked tile to provide ample workspace. Clean the tile surface with a suitable cleaner to remove any dirt or grime.
2. Removal of the Damaged Tile
Use a grinder or multi-tool to carefully cut out the damaged tile along its edges without disturbing adjacent tiles. If necessary, use a chisel and hammer to break away stubborn pieces. Be cautious not to damage surrounding tiles.
3. Cleaning the Area
Once the tile is removed, clean the area thoroughly to remove any debris. Use a putty knife to scrape away old adhesive and grout.
4. Preparing the New Tile
Measure the space where the new tile will be installed and mark it on the back of the replacement tile piece using a pencil. Cut the tile to size if necessary, using a wet saw or tile cutter for precise cuts. Sand the edges smooth.
5. Applying Adhesive
Apply a generous amount of epoxy or tile adhesive to the back of the new tile piece, ensuring full coverage. Press the tile firmly into place, aligning it with the surrounding tiles. Wipe away any excess adhesive that seeps out.
6. Grouting
Allow the adhesive to dry completely according to the manufacturer's instructions. Once dry, mix the grout as per instructions and apply it to the gaps between tiles using a rubber grout float. Remove excess grout and smooth the joints.
7. Cleaning and Curing
Clean the surface with a damp sponge once the grout has set but is still slightly soft. Allow the grout to cure fully, typically overnight.
8. Final Touches
After curing, inspect the repaired area. If necessary, use sandpaper to smooth any rough spots or uneven grout lines. Clean the area again to remove any residue from sanding.
Conclusion
By following these steps, you should now have a successfully repaired tile in your bathroom or kitchen. Remember that while this method works well for small repairs, extensive damage might require professional assistance.
> Tip: Always wear protective gear when handling power tools and sharp objects. If unsure, consult a professional tiler for advice or assistance.