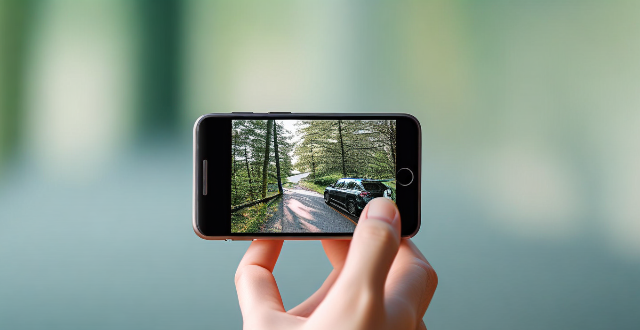
HDR mode in smartphone cameras helps capture better photos in high-contrast situations by improving dynamic range. To use it, open the camera app, access HDR mode, choose your preferred setting, take photos as usual, review and save them if satisfied.

How to Use HDR Mode on Your Smartphone Camera
HDR (High Dynamic Range) mode is a feature in many smartphone cameras that helps you capture better photos in high-contrast situations. Here's how to use it:
Step 1: Open the Camera App
First, open your smartphone's camera app. This can usually be found on one of your home screens or in an app folder labeled "Camera" or "Photos."
Step 2: Access HDR Mode
Once you have opened the camera app, look for the HDR option. This may be located within the settings menu, which is often accessed by tapping on a gear icon or three-dot menu icon. Alternatively, it may be a toggle switch within the main camera interface.
Step 3: Choose HDR Mode
After finding the HDR option, select it to enable HDR mode. You may have several options to choose from, such as Auto HDR, On, or Off. Auto HDR will automatically enable HDR when needed, while On will always use HDR when taking photos.
Step 4: Take Photos with HDR
Now that you have enabled HDR mode, you can take photos as usual. When you press the shutter button, your smartphone will capture multiple images at different exposures and combine them into a single photo with improved dynamic range. This means that both the brightest and darkest parts of the image will be more clearly visible.
Step 5: Review and Save Your Photos
After taking a photo with HDR mode, review it to see if the result meets your expectations. If you are satisfied with the photo, save it to your camera roll or share it directly from the camera app.
In conclusion, using HDR mode on your smartphone camera can help you capture better photos in challenging lighting conditions. By following these steps, you can easily enable and use HDR mode to improve the quality of your photos.