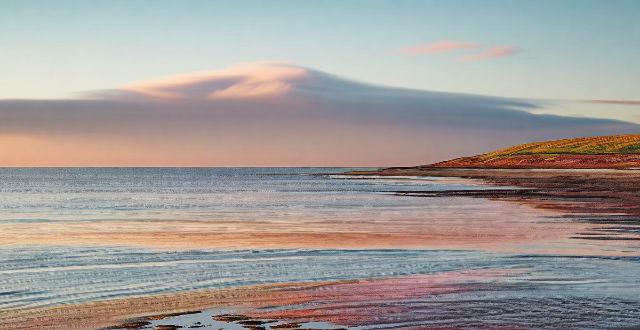
To take stunning landscape photos using your iPhone, focusTo take stunning landscape photos using your iPhone, focus the rule of thirds and play with perspectives, and mind details such as color palette and moment timing. Post-process with editing apps and accessories like a tripod or external lenses for improved results.

How to Take Stunning Landscape Photos Using Your iPhone
Taking stunning landscape photos with your iPhone is not only possible, but it can also be a fun and rewarding experience. Here are some tips and tricks to help you capture breathtaking scenes using your Apple device:
1. Understand the Basics of Composition
- Rule of Thirds: Imagine a tic-tac-toe grid on your screen and place key elements at the intersection points or along the lines.
- Leading Lines: Use natural lines like paths or rivers to guide the viewer's eye through the scene.
- Symmetry and Patterns: Look for mirrored scenes or repeating patterns that add visual interest.
2. Utilize Light Wisely
- Golden Hour: Shoot during dawn or dusk when the light is soft and warm, enhancing colors and shadows.
- Blue Hour: The period shortly after sunset or before sunrise offers a serene blue light perfect for cityscapes and water scenes.
- Cloudy Days: Overcast conditions provide even lighting, reducing harsh shadows and reflecting light for vibrant colors.
3. Focus and Exposure
- Touch to Focus: Tap the screen where you want the sharpest detail, usually your main subject.
- Lock Exposure and Focus: After setting focus, hold down on the screen until you see 'AE/AF Lock' to maintain exposure and focus settings.
- Use HDR: In high-contrast scenes, enable HDR (High Dynamic Range) to balance out the light and dark areas.
4. Play with Perspectives
- Get Low or Go High: Change your shooting angle to find unique perspectives.
- Foreground Interest: Include objects in the foreground to add depth and lead the viewer into the scene.
- Layers: Try to include multiple layers in your composition for added dimensionality.
5. Mind the Details
- Simplify: Remove any distracting elements from your frame for a cleaner composition.
- Color Palette: Complementary colors can make your photo more appealing. Consider the color of the sky, foliage, and any other elements in the scene.
- Wait for the Moment: Sometimes, waiting for people, clouds, or animals to enter your frame can turn a good photo into a great one.
6. Post-Processing
- Editing Apps: Use editing apps like Adobe Lightroom, Snapseed, or VSCO to enhance your photos.
- Adjust Settings: Play with contrast, saturation, shadows, and highlights to bring out the best in your landscape shots.
- Cropping: Sometimes cropping to a different aspect ratio can improve the impact of your photo by removing unnecessary space.
7. Accessories and Tools
- Tripod: A portable tripod will keep your iPhone steady, especially in low light conditions or for time-lapse photography.
- Lenses: External lenses can be attached to your iPhone to achieve wide-angle shots or close-ups.
- Polarizer: A polarizing lens filter can reduce glare and enhance skies and water bodies.
By following these steps, you'll be able to take full advantage of your iPhone's camera capabilities and create stunning landscape photos that capture the beauty of nature. Remember, practice makes perfect, so get out there and start shooting!