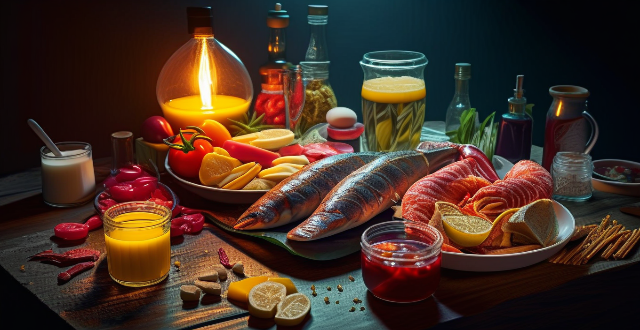
The role of lighting in food photography is crucial for capturing the perfect photo. Key aspects to consider include color temperature and mood, directionality and shadows, intensity and exposure, background and ambiance, and experimentation and creativity. Warm lighting enhances warm, comfort foods while cool lighting complements cold dishes like salads or seafood. Natural light provides soft, even illumination while artificial light allows for more control over directionality. Bright lighting captures vibrant colors but can cause overexposure, while dim lighting creates a moody effect but may require longer exposure times. Simple backgrounds with subtle lighting accents allow the food to be the main focus, while elaborate setups incorporate additional lighting elements for an immersive dining experience. Experimenting with multiple light sources and using reflectors and diffusers can achieve a balanced and pleasing result. Mastering lighting techniques can elevate food photos from ordinary to extraordinary.

The Role of Lighting in Capturing the Perfect Food Photo
Lighting plays a crucial role in capturing the perfect food photo. It can make or break the visual appeal of the dish and significantly impact the overall mood and atmosphere of the image. Here are some key aspects to consider when it comes to lighting in food photography:
1. Color Temperature and Mood
- Warm Lighting: Creates a cozy, inviting atmosphere and enhances the colors of warm, comfort foods.
- Cool Lighting: Evokes a modern, fresh feel and complements the colors of cold dishes like salads or seafood.
2. Directionality and Shadows
- Natural Light: Provides soft, even illumination that is ideal for showcasing the texture and details of food.
- Artificial Light: Allows for more control over directionality, creating dramatic shadows and highlighting specific areas of the dish.
3. Intensity and Exposure
- Bright Lighting: Helps to capture vibrant colors and sharp details, but can also cause overexposure if not managed properly.
- Dim Lighting: Creates a moody, atmospheric effect but may require longer exposure times or higher ISO settings, potentially leading to noise in the image.
4. Background and Ambiance
- Simple Backgrounds: Allow the food to be the main focus by using neutral or minimalistic backdrops with subtle lighting accents.
- Elaborate Setups: Incorporate additional lighting elements such as candles or string lights to create an immersive dining experience within the photo.
5. Experimentation and Creativity
- Multiple Light Sources: Use different types of lights (e.g., sunlight, flash, lamp) to experiment with various effects and find what works best for your subject matter.
- Reflectors and Diffusers: Utilize reflectors to fill in shadows or diffusers to soften harsh light, achieving a balanced and pleasing result.
In conclusion, mastering the art of lighting in food photography requires practice, patience, and an understanding of how different lighting techniques can influence the perception of your dish. By paying close attention to these factors, you can elevate your food photos from ordinary to extraordinary.